Showing posts with label repurpose. Show all posts

Monday, August 20, 2012

An Amazing Log Planter {Guest Post: Sweet Sparrow Design}

Diana and Tara are the creators of Sweet Sparrow Design, eco friendly products for children, moms, and home. I have just come to love their products as well as the country life that they live! I was talking to Diana a little while back and she brought to my attention this log planter! I'm all for a great repurposed project! I wanted to know all about it!! So when I opened my email to find the story behind the planter, I couldn't wait for you guys to see it too! So here ya go...

The Story Behind the Original Country Log Planter...

Photobucket
Pin It!

I can across the idea of a log planter this spring on Pinterest. Yes I am on there once in a while, although I really try and limit my time there. As I saw the planter I knew I had just the tree right on our own country yard to make one for ourselves. I talked about it with my husband as this was no small task. This tree was a huge tree that happened to be hollow inside. We actually did not have to discuss it long as my husband thought it was a great idea and it would really “fit” our style and yard when it was done. The evening we started on it Mr D. went up the tree as high as he could with a ladder and cut down some of the limbs one at a time with his chainsaw. We had other trees that we did not want to damage in the area. I of course was supervising on the ground and telling him how to be safe and letting him know how great he looked manhandling that chainsaw! 
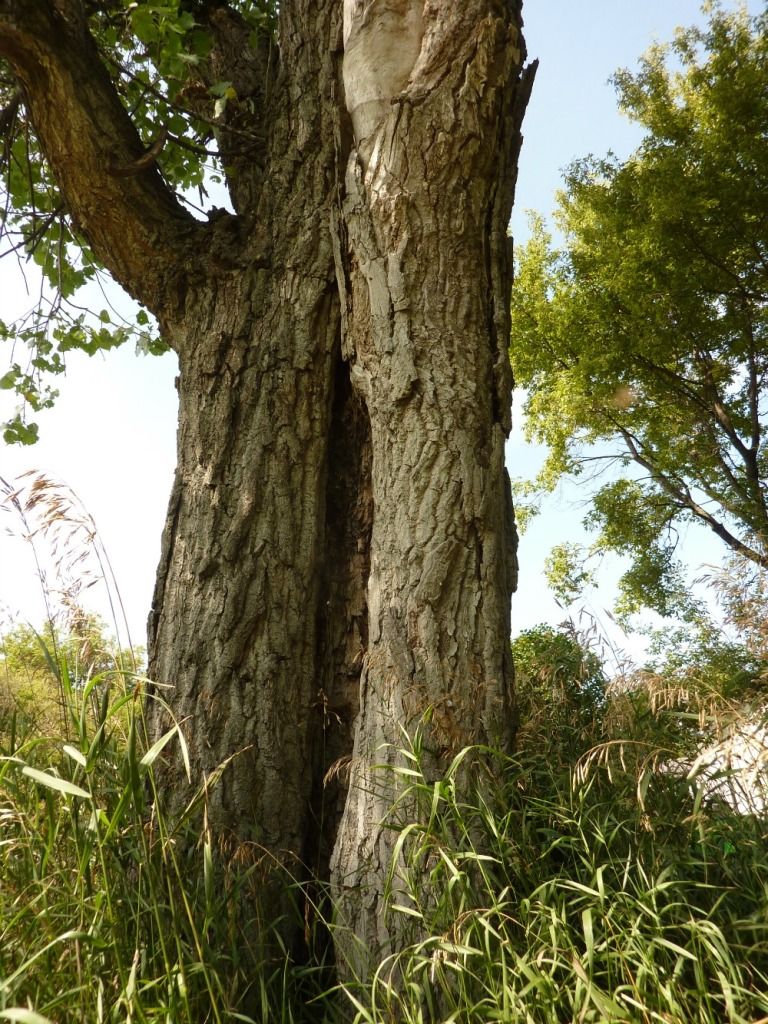
This is a similar cottonwood tree still standing close to the one we took down.


Photobucket
 

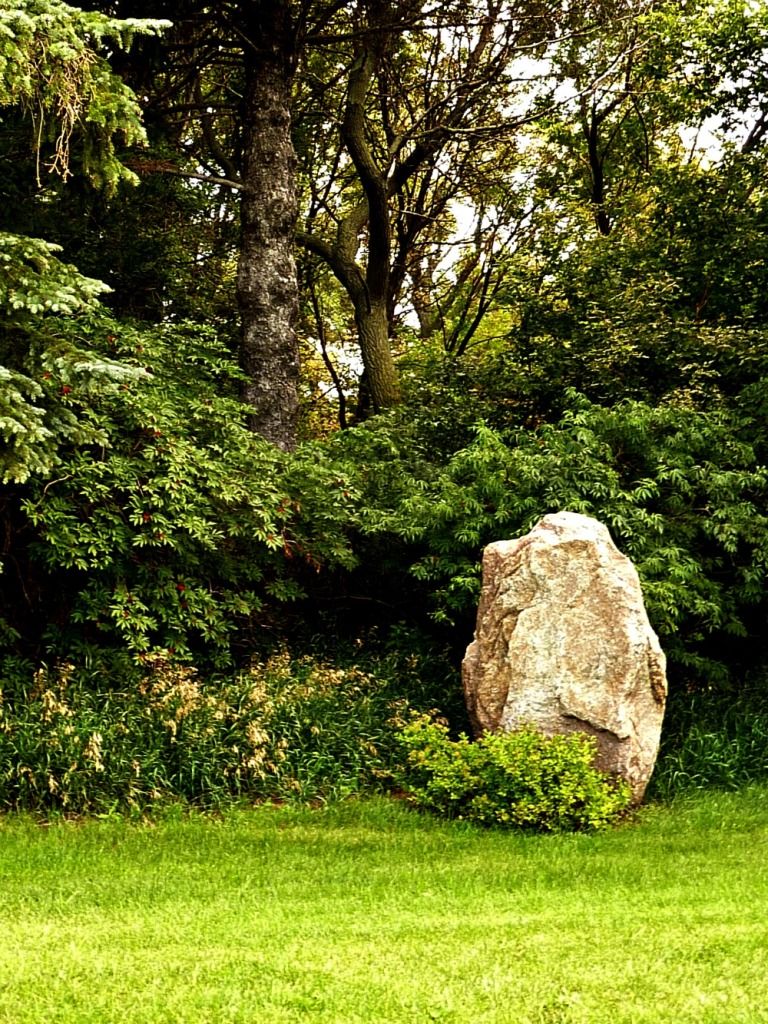
 Finally we were far enough to pull the last part of the tree over with the tractor. As my husband was towing the tree to position by our patio we were chuckling and teasing. We do not do things small around here. This tree planter at its largest point measures 8 feet in diameter! Now I have my HUGE planter and my husband has his HUGE stone. A couple years ago I watched him work for days at digging and towing this big stone out of our bush. It now sits proudly on our front yard.

Photobucket

I think my planter is doing great this year and I am very happy with how it has turned out. If you have time I would love it if you would come by and visit the Sweet Sparrow Design shop I have together with my daughter on Etsy or visit us on Facebook and see what we are up to when we are not busy with country living. We are so excited to have just arrived at over 700 fans on our facebook! Diana

Thanks for sharing this with us Diana!! I only wish I could cut down the tree in front of my condo! Make sure to also follow Sweet Sparrow Design on Twitter!!


[Continue reading...]

Wednesday, August 8, 2012

What to do with broken crayons....Crayon Art


There is something that every family has in common. No matter how well we keep our houses up, no matter how good we think our kids play, no matter how well the toys stay organized....there are always broken crayons hiding somewhere. We all have them....ya know you do! Just like you know that it's inevitable, that at some point of your couches life, it WILL eat your change! I used to constantly pick up the broken crayons and throw them away. I used to get so mad at the kids for purposely breaking them! At one point I even stopped buying crayons. Last year, I changed my thinking. I would re-use the broken crayons. I welcomed them {secretly}. I started collecting them! I put them in a basket where the kids wouldn't see them, because I just know my kids. I would be picking them up again....and again, and probably again, if they knew where they were. I also didn't tell them what I wanted to do with them or they would ask me 20 times a day if it's time! I was able to get quite a bit together! Is this amount that I collected normal? So maybe not every family would find so many. I guess I would rather have my couch eat more change, but broken crayons is what we get!
A few weeks ago, the kids were crazy bored, and needed a project. What do you do to keep 2 kids occupied for hours? Have them take paper off of crayons!
Now that is what I am talking about! Peace and quiet! I remember sitting them on the couch and thinking that I could get so much work done. The baby was napping, the dog was napping, and the 2 of them were excited...and quiet!! Why didn't I do this sooner?? 

Notice that her eyes have found the tv! It's only minutes now until she quits! (He followed soon after). I'm pretty sure it wasn't even 15 minutes, before they were complaining of their nails hurting from ripping the paper off, and yelling at each other about whose crayons were whose. I found myself spending the next hour or so taking off the paper myself, while the kids played outside.  

The Crayola's were much harder to get off. Carefully slice the paper  longways with a razor. It will make your job SO much easier!

I thought I would never finish! More just kept appearing!

Now your ready to start making your new crayons!

Put the pile into a trash bag or you can place them in between wax paper, and using a hammer or a rolling pin make the pieces smaller.

Make sure to spray the tins with cooking spray before you put the crayons in. 


Make sure that there is no paper in the tins before you place them in the oven. I did take out the paper in the photo above, apparently just not before snapping the photo :) 
Heat the oven. I'm not sure if there is a correct temperature to set the oven to, there probably is, but I think I set it to 375. If you've done this before, let me know if I'm wrong. Heat until melted. When you check on them, you'll see chunks if they aren't ready. They will liquefy completely.

I kept them in the fridge for a couple of hours. Once they cooled, they kind of all sunk in the middle, and looked milky like. See the photo below. I got a bit worried thinking that they became a gross color. 


I banged them on the counter just to loosen them, and they slid right out. Look how pretty they are now!! Phew...it wasn't a waste of time after all!

You can obviously choose to keep all of the colors the same to make solid colors, but I love the rainbow (and I didn't want to take the extra time). I love that the crayon (dust) left speckled patters throughout!

The idea was to make these for the kids {of course}....
but once they were finished, I thought they would make great art! I kinda had to bribe them to let me have them. I only had 1 new canvas left, and it didn't seem fair to clean up and save take their crayons, make them work so hard for 15 minutes all of that time peeling the paper, to not let them keep them! So I gave them a couple canvas' that I had used for nothing special. Covered the table with a drop cloth, and let them go to town making their own art! This is what I came up with....

I painted the canvas and glued the crayons on with Tacky Glue. For obvious reasons...don't use hot glue ;) And this is what they came up with....

I think all 3 turned out great! Don't you?? It was a fun afternoon!
Pin It!
Have you recycled crayons before? Have you used them for anything other than coloring? I'd love to see! Thanks for coming by today. If you liked this post, I'd love it if you'd take a quick sec to vote below, and click the G+share!

Also, make sure to check out the coffee link up and giveaway going on now!


Sharing over at:
Live Laugh {Linky}
Fantabulous Friday
[Continue reading...]

Friday, March 30, 2012

$20 Bathroom Makeover!


I know you have all heard of Design on a Dime, right?? Well, I don't know where they get there dimes from, but their dime is worth way more than my dime!! This is what I call, "I Ain't Got NO Dime Design!" Being the final week of the American Crafter contest, I wanted to do something really great, but I also needed to make something that wouldn't cost so much. In the previous weeks I spent no more than $10 on each project! I was able to repurpose things and it worked out, but I had nothing else I could redo that would, in my opinion, be contest worthy! I decided that my bathroom was in need of the makeover and I could do it for CHEAP!! I have to chuckle though, because that's not a typical project to take on when your budget is $0! Here is what I had to work with....


I know, it's super plain, but we rent our house and sometimes it's hard to bring yourself to put in the time and money for improvements. This was WORTH IT!! Here is how it turned out and then I'll go through how I manage to spend so little money!


I painted the walls with a mix of the gray from my bedroom and the white from the kitchen cabinets (painting the baseboard before I mixed the 2).....$0!
I have a great variety of paint, but nothing that I wanted for the vanity. Last weekend Ace Hardware was giving away a quart of their new paint for free! So that is what I used to paint the vanity and the shudder....$0!
I painted the grout with the same paint that I used on the floors, making a paint wash...$0!
At Habitat for Humanity, I found the wood that I used for the frame and the towel rack....$2
and used liquid nail to attach it to the mirror...$3
Already had the spigots...$0!
blue and orange spray paint from Habitat for Humanity...$6
stain from Habitat for Humanity...$3
white spray paint was on clarence at Sears Hardware....$1
I got the material for the shower curtain at Good Will....$4
The wreath form is from the dollar store....$1
already had the sheet music....$0!
already had frames....$0!

And that's the rundown!! A total of 20 buckaroo's!


Thanks for stopping by! Hope you like it as much as I do! I'd love to hear what you think!!

Remember to vote! You can vote HERE


Linking @:
Fireflies and Jellybeans: Show off you Stuff
Live Laugh Rowe: Live Laugh Linky
At The Picket Fence: Inspiration Friday
Cherished Handmade Treasures: Things We Find Pinteresting Thursday
Show and Tell Saturday
Six Sisters Stuff: Strut Your Stuff Saturday
Funky Junk Interiors: Sat Night Special
Miss Mustard Seed: Furniture Feature Friday
Addicted 2 Decorating: Addicts {not so}Anonymous
A Simply Klassic Home: Simply Klassic Sunday
Tatertots and Jello: Weekend Wrap Up
[Continue reading...]

Total Pageviews